本文介绍了如何为软件添加Bioconda recipe,以便可以通过conda安装自己的软件。
注:本文适用于非 Bioconda 成员
Step0:软件开发与GitHub操作
(1) 将开发完成的软件上传到GitHub
(2) 在本地软件目录下创建tag
1 | $git tag v1.0.0 -m 'first version' |
(3) 上传到GitHub
1 | $git push origin v1.0.0 |
注:如果需要删除有bug的tag:
1 | $git tag -d tagname |
(4) 存档tag(非必需)
1 | $git archive -v --format=tar v1.0.0 > v1.0.0.tar.gz |
(5) 计算压缩包的"sha256"以供bioconda校验
1 | $sha256sum v1.0.0.tar.gz |
Step1:fork bioconda-recipes
(1)进入 bio-conda GitHub页;
(2)点击右上角的 “Fork”;
(3)操作完成后在用户自己的 GitHub 内得到了一份 “
Step2:将项目克隆到本地
1 | $git clone https://github.com/liaochenlanruo/bioconda-recipes.git |
Step3: Then add the main bioconda-recipes repo as an upstream remote to more easily update your branch with the upstream master branch:
1 | $cd bioconda-recipes |
Step4:更新 repo
1 | $git checkout master |
Step5:写自己的 recipe
例如,创建并切换到一个名字为 “pgcgap” 的 新分支
1 | $git checkout -b pgcgap |
在”bioconda-recipes/recipes/“目录下新建”pgcgap”目录,并将撰写好的build.sh和meta.yaml存入其中。
注:Step6和Step7可以跳过
Step6:本地测试 recipe (可选,即可以直接在线测试)
在"bioconda-recipes/"目录下依次运行如下命令:
1 | $./bootstrap.py /tmp/miniconda |
Step7:更新 recipes (可选)
1 | $bioconda-utils update-pinning recipes/ config.yml --packages pgcgap --create-pr |
Step8:推送修改,等待测试通过,提交 pull 请求
(1) 将本地更改同步到自己的pgcgap分枝
1 | $git push -u origin pgcgap |
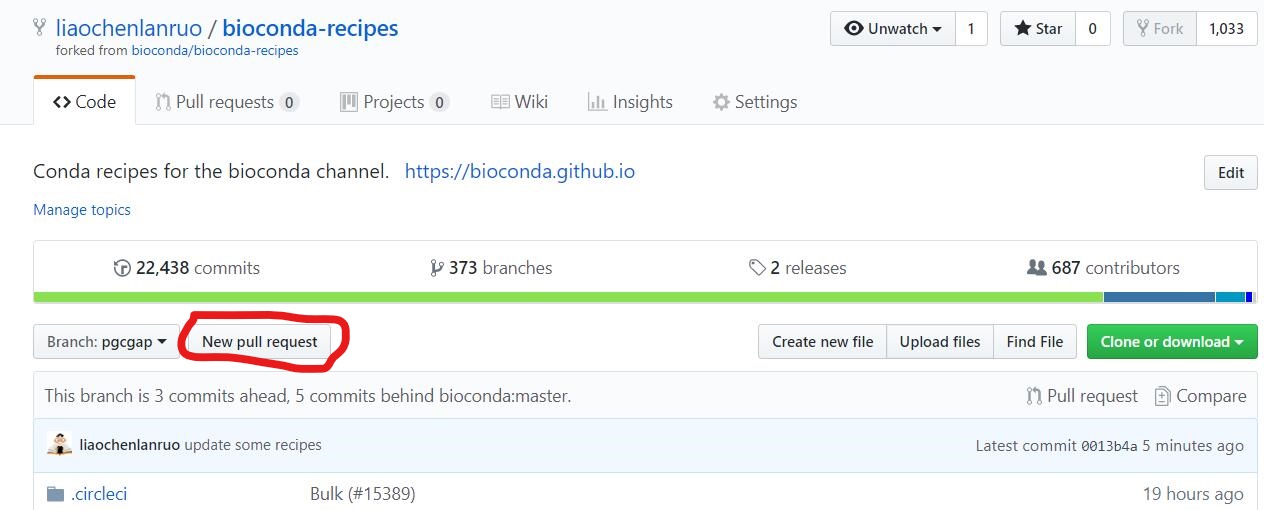
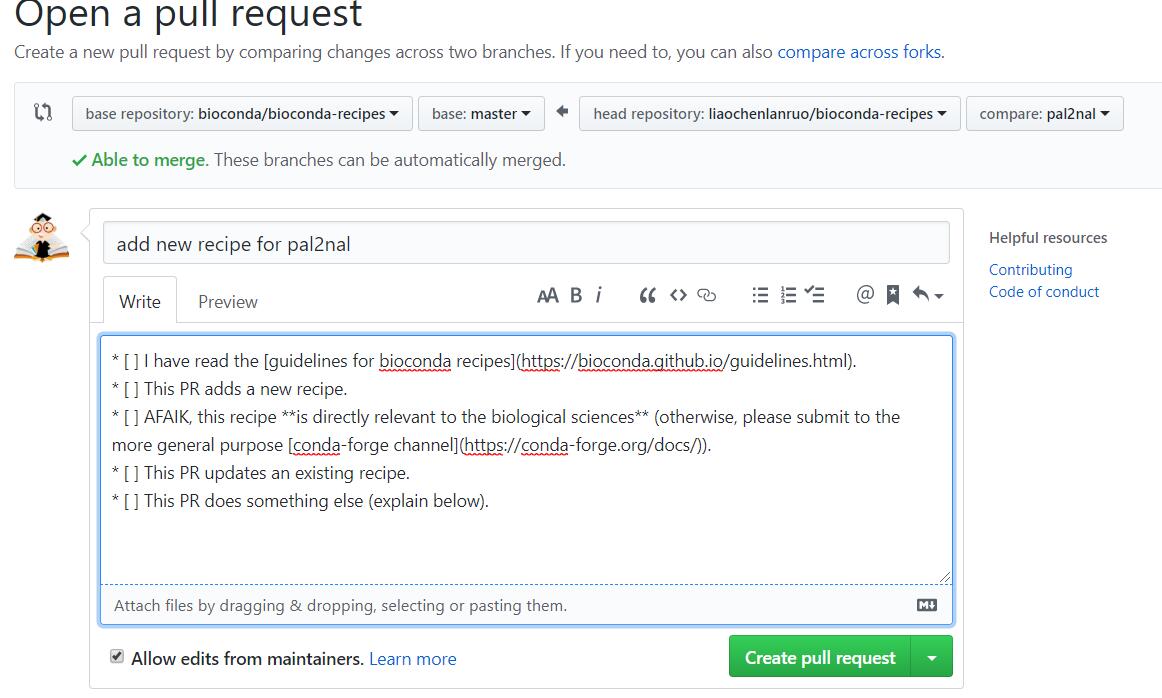
(2) 在“liaochenlanruo/bioconda-recipes”的“pgcgap”分支下点击“New pull request”。base repository选择“liaochenlanruo/bioconda-recipes”,base选择“pgcgap”;head repository选择“bioconda/bioconda-recipes”,compare 选择”master”。
比较完成后提交,标题自定义,内容根据提示酌情填写。若存在问题可以 @其核心团队成员中的任何一位,如输入“@epruesse”,将会 @ Elmar Pruesse。若想成为bioconda成员,以及要merge自己的分支,同样需要@核心成员中的任何一位。
实例:
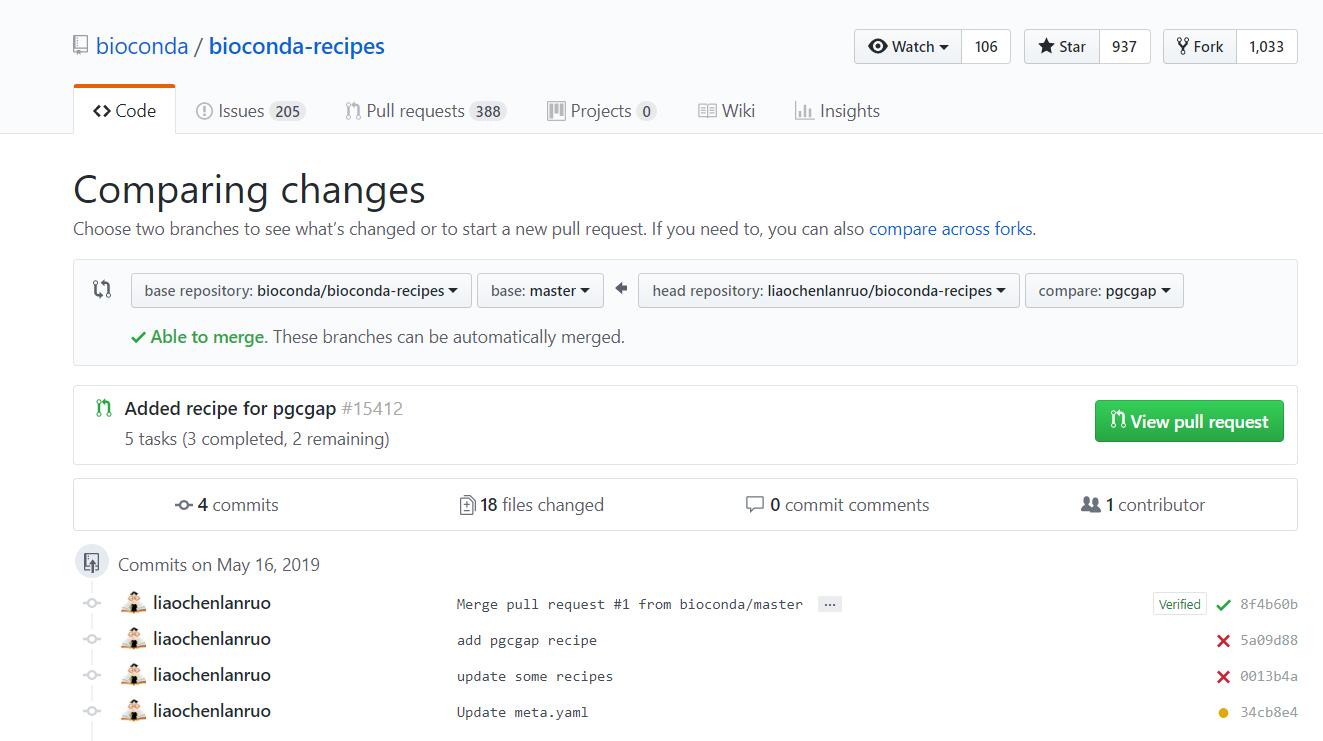
上述步骤完成后,可以在GitHub项目下的“Pull requests”选项卡下查看处理状态。
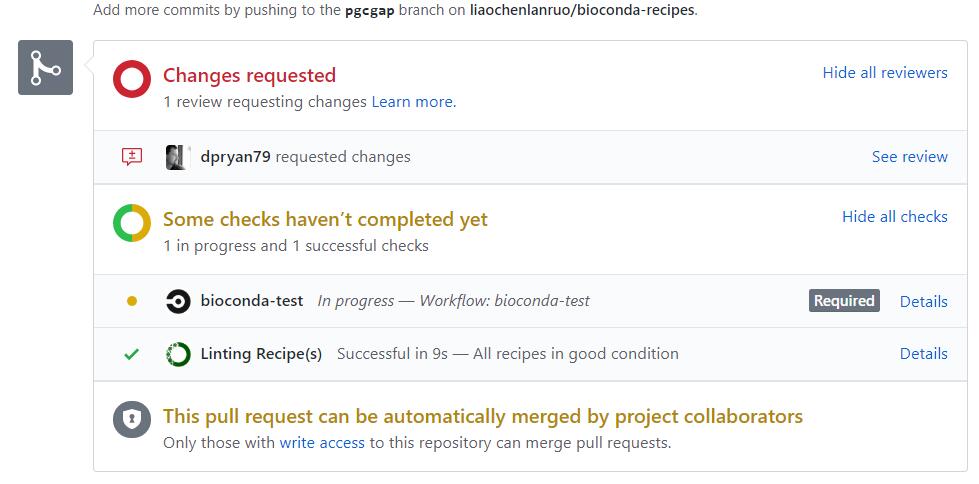
根据提示修改自己的recipe,再次pull,循环往复,直至修复所有错误(下图表示需要修改)。
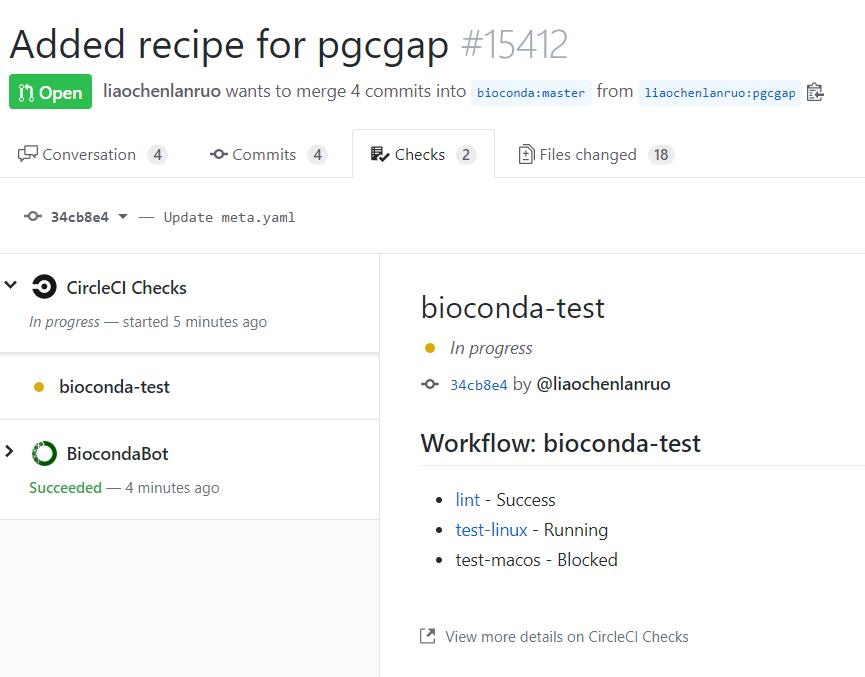
点击“details”可以查看进程和详细信息。下图所示,正在测试recipe。
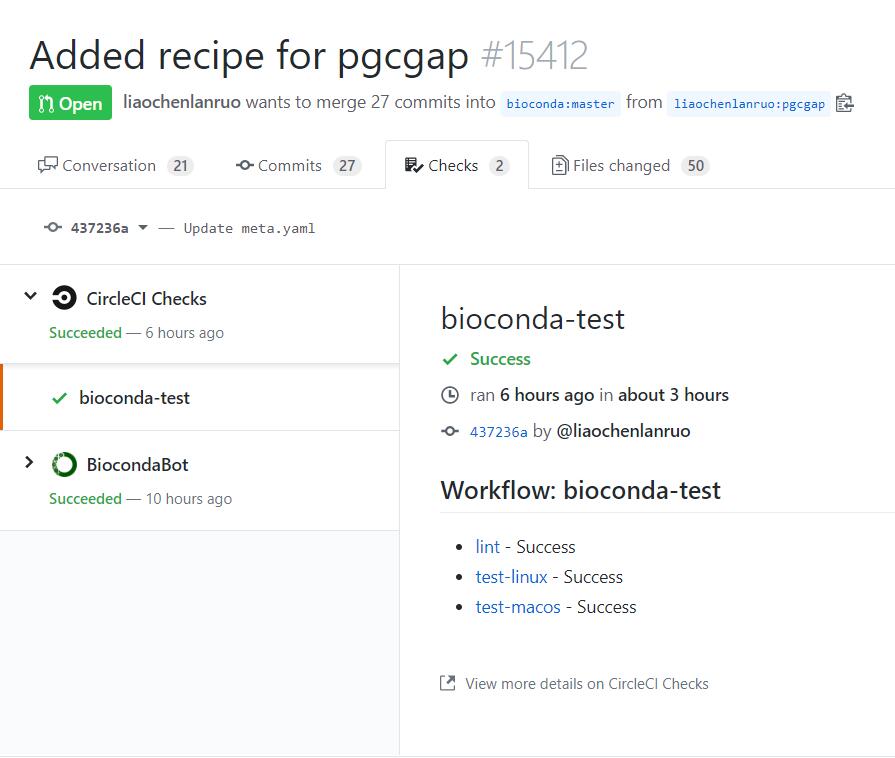
如下图所示,表明测试成功,等待管理员合并自己的分支。
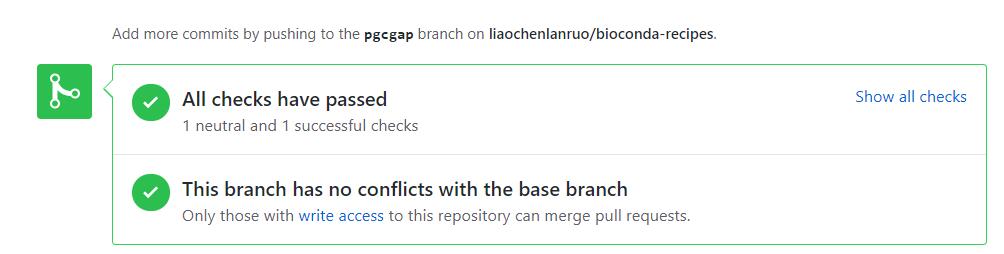

如上两图分别为非bioconda成员以及bioconda成员测试通过的界面,非成员需要新建一条评论并 @一位核心成员,请求其merge自己的pull requests,bioconda成员则可以点击“Squash and merge”来合并自己的pull requests。

## 附: 1. 加入bioconda
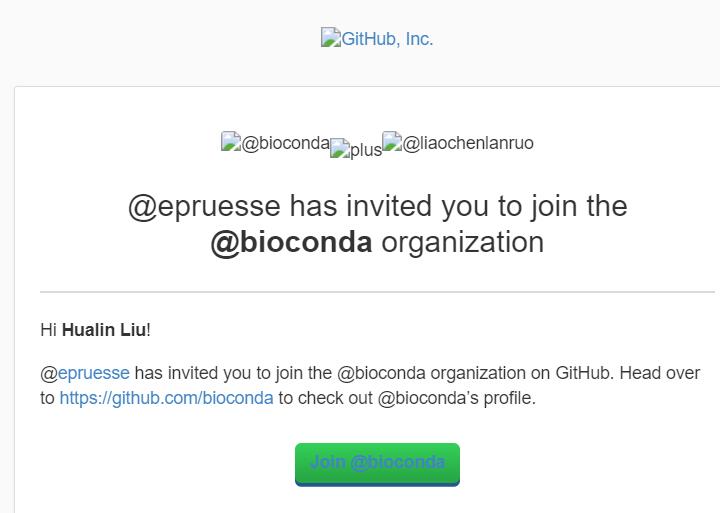
1)在第一个recipe推送成功后可以在评论中 @ 一位核心成员,要求加入组织
2)收到邀请链接,点击加入
## 常见错误 1. If linting fails:
1 | git checkout master |